Raspberry Pi: Overclocking mit dem neuen Raspbian Betriebssystem!
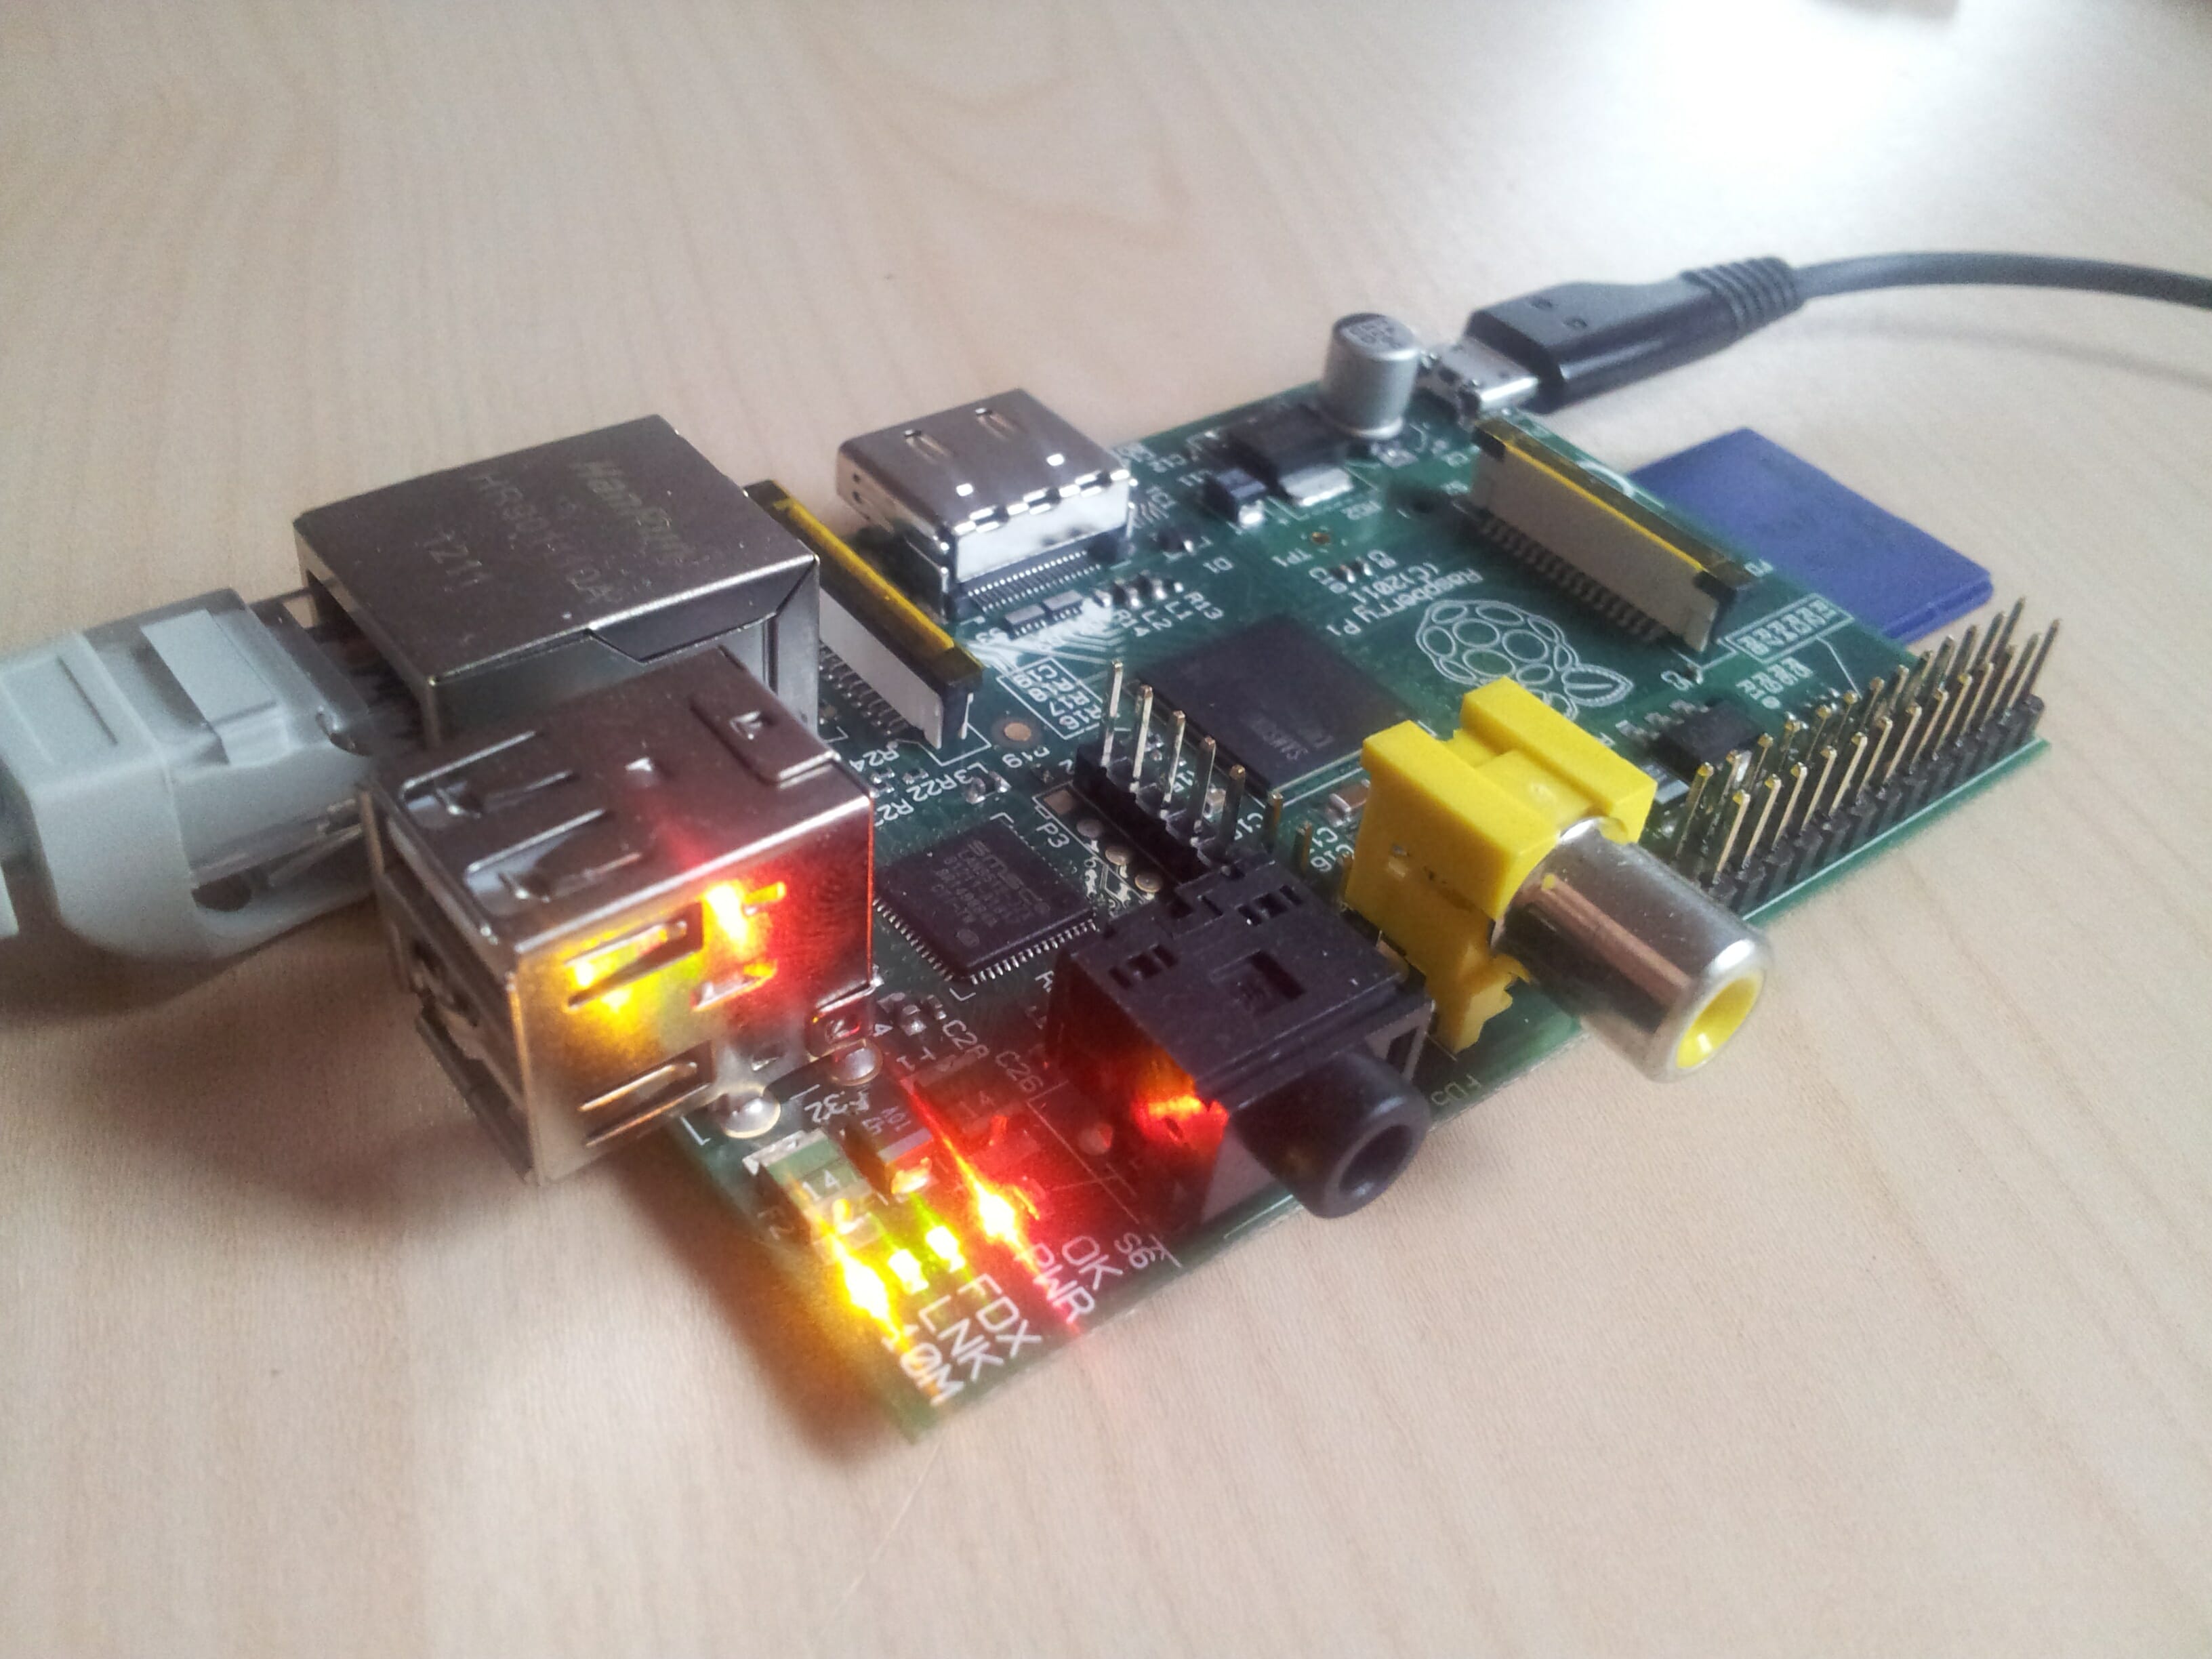
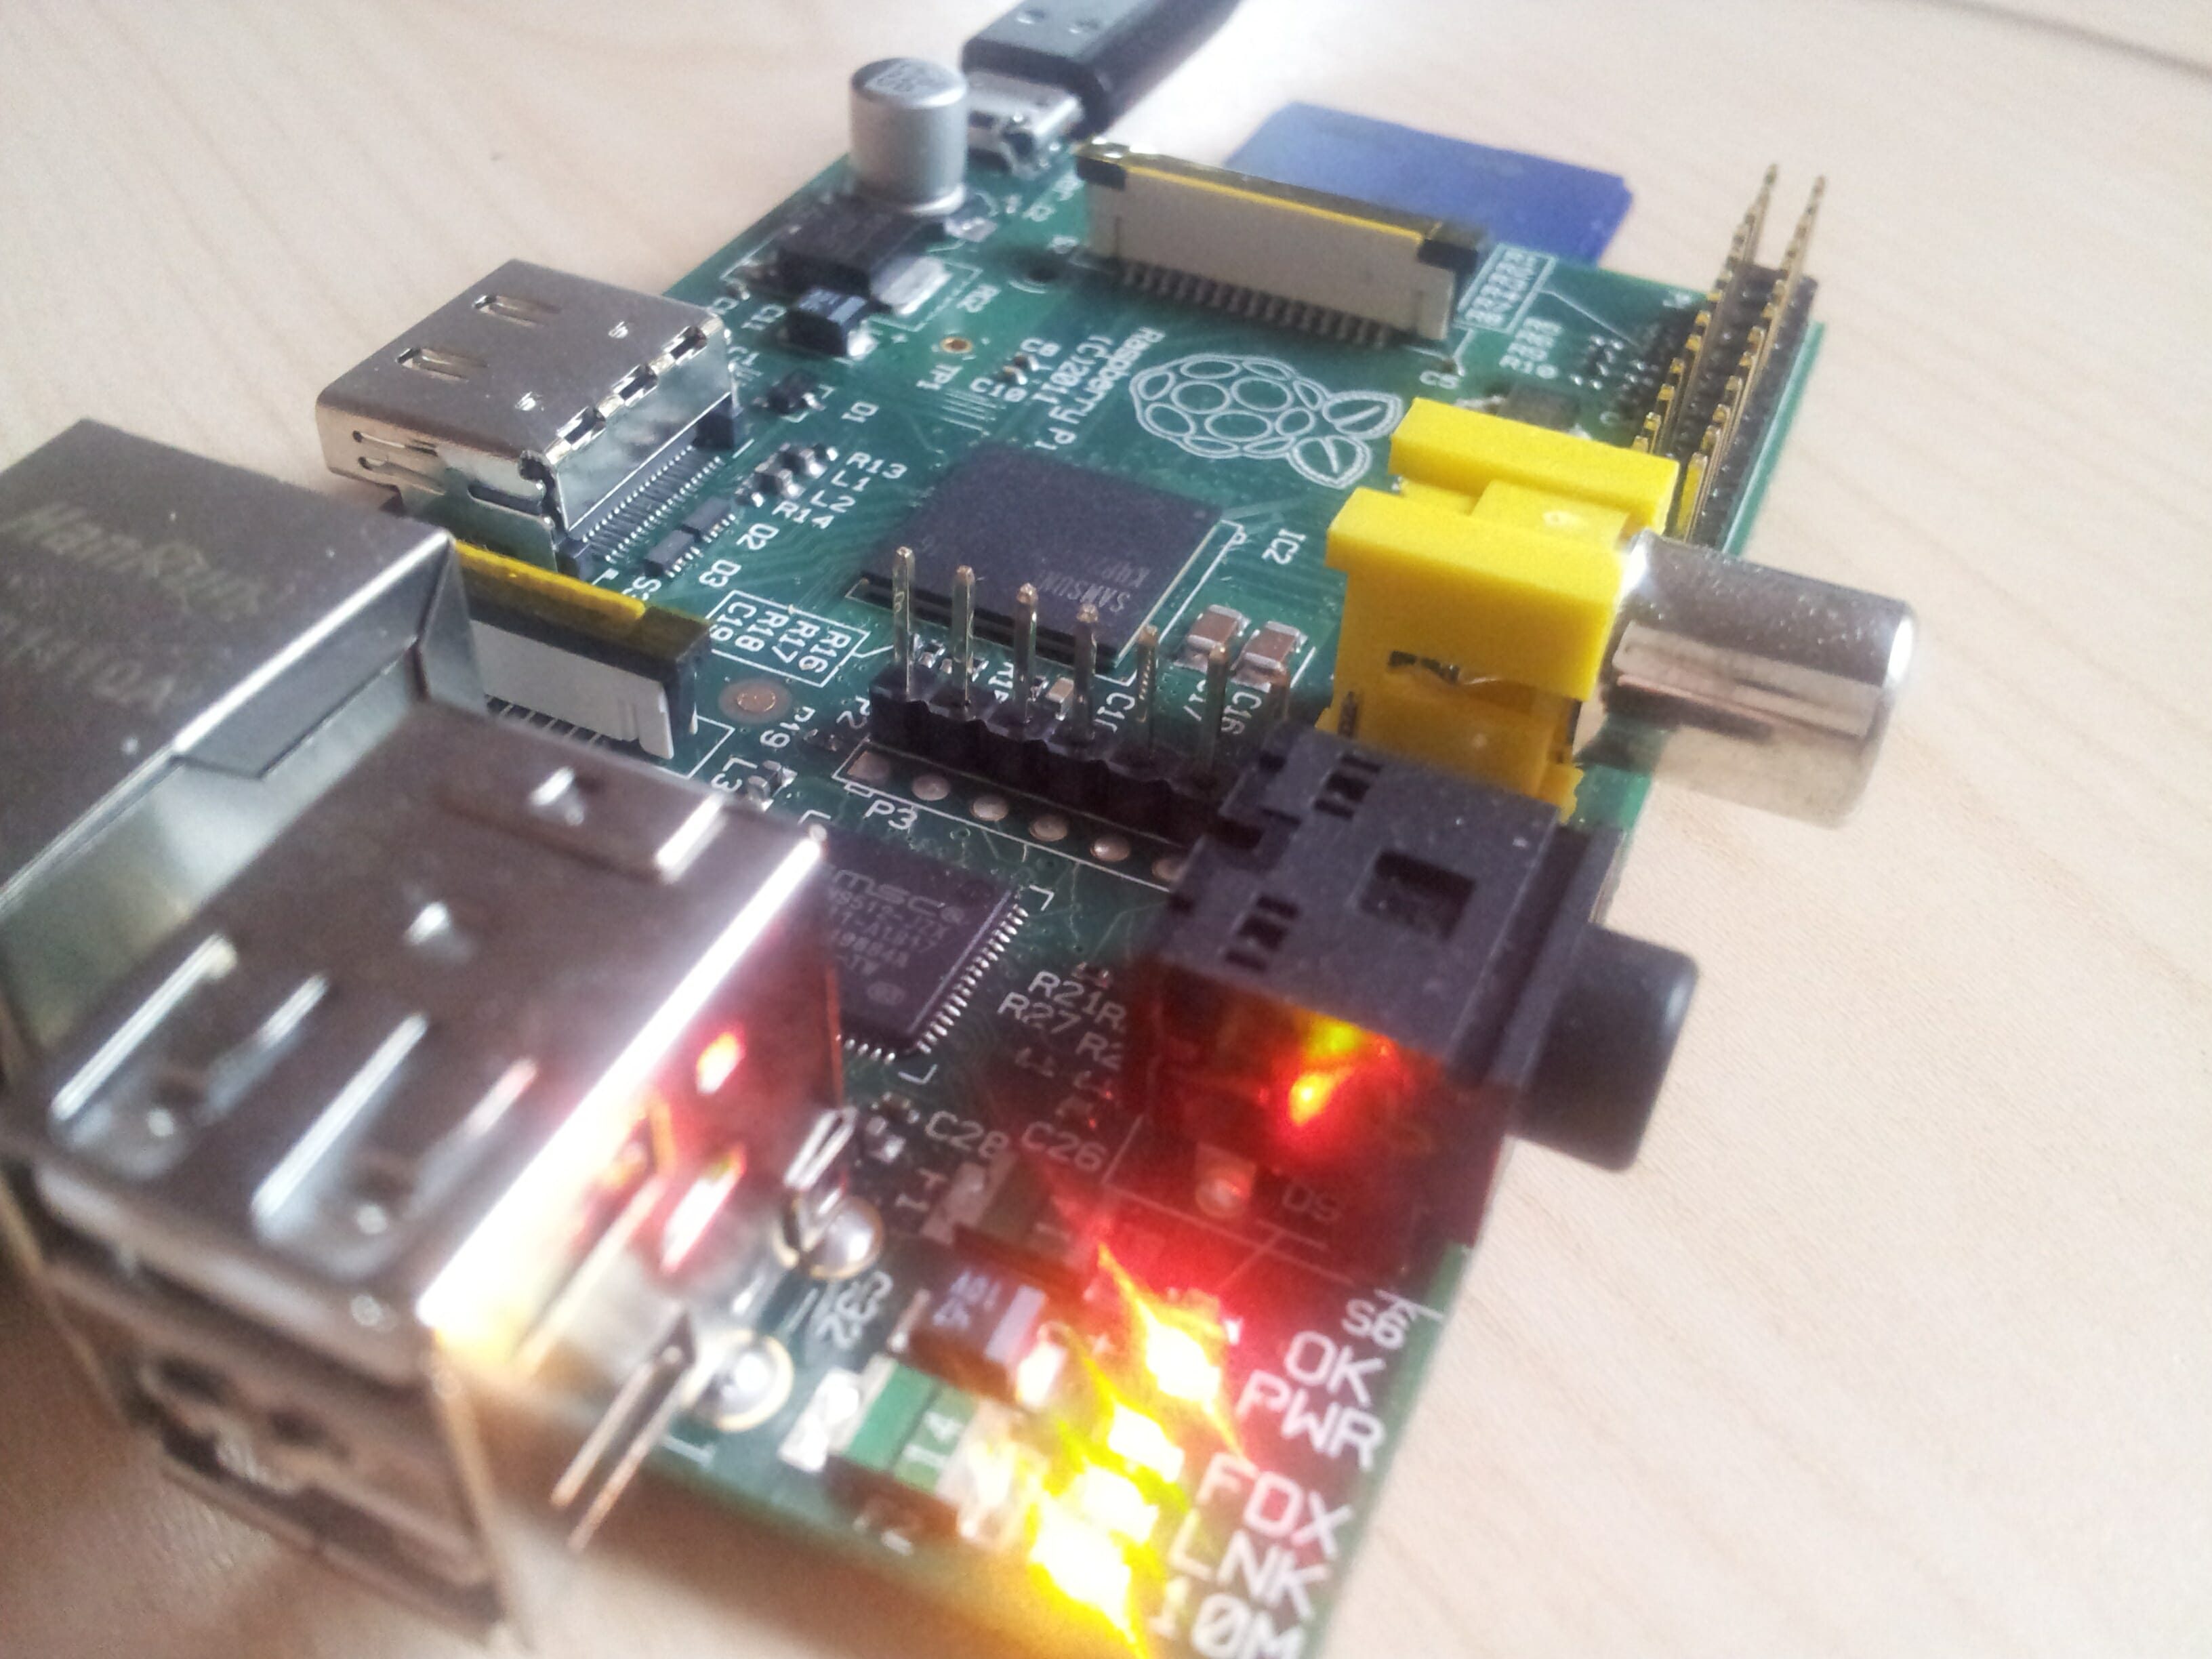
In diesem Artikel zeige ich dir, wie du dein Raspberry Pi leicht übertakten kannst. Dies kann alles bequem über eine Datei auf dem Raspberry Pi gemacht werden. Was das Raspberry genau ist, habe ich bereits in einem Artikel genau erläutert: https://patrik.kernstock.net/1244/mein-raspberry-pi
Die Möglichkeit des Übertakten gibt es bereits auch bei älteren Debian-Versionen, jedoch gibt es bei der aktuellen Version einen Fehler, der die benötigte Datei zum übertakten immer überschreibt bzw. diese Datei irgendwie korrupt wird. Im Forum habe ich mich genau erkundigt und es wurde auch dafür eine Übergangslösung gefunden. Diese werde ich in diesem Artikel ebenfalls verwenden.
Ich rate jedoch trotzdem JEDEM – der Debian bevorzugt – die neue Debian/Raspbian Version zu benutzen. Diese ist wesentlich benutzungsfreundlicher und hat auch einige Performance verbessern bekommen!
Die Datei
Hierbei reden wir über die Datei config.txt, welche im /boot Ordner liegt. Diese wird beim starten übernommen und auch dort, muss man die Übertaktungseinstellungen eintragen.
Das einzige was man dafür benötigt, ist kleine Kenntnisse mit einem Linux Editor 😀
Ich persönliche verwende immer den “nano” Editor.
Es gibt eine Reihe von vordefinierten Einstellungen, die in der config.txt vorhanden sind. Im Raspberry Pi Forum hat sich einer viel Mühe gemacht und eine schöne Erklärung (in Englisch!) angefertigt. Der orignale Forumthread ist unter folgendem Link erreichbar: http://www.raspberrypi.org/phpBB3/viewtopic.php?f=26&t=9577
Die Beschreibung:
[sourcecode language=”plain” collapse=”true”]################################################################################
## Raspberry Pi Configuration Settings
##
## Details taken from the eLinux wiki 2012/06/27
## For up-to-date information please refer to wiki page.
##
## Wiki Location : http://elinux.org/RPi_config.txt
##
################################################################################
################################################################################
## Standard Definition Video Settings
################################################################################
## sdtv_mode
## defines the TV standard for composite output
##
## Value Description
## ————————————————————————-
## 0 Normal NTSC (Default)
## 1 Japanese version of NTSC – no pedestal
## 2 Normal PAL
## 3 Brazilian version of PAL – 525/60 rather than 625/50, different subcarrier
##
#sdtv_mode=0
## sdtv_aspect
## defines the aspect ratio for composite output
##
## Value Description
## ————————————————————————-
## 1 4:3 (Default)
## 2 14:9
## 3 16:9
##
#sdtv_aspect=1
################################################################################
## High Definition Video Settings
################################################################################
## hdmi_safe
## Use "safe mode" settings to try to boot with maximum hdmi compatibility.
##
## Value Description
## ————————————————————————-
## 0 Disabled (Default)
## 1 Enabled (this does: hdmi_force_hotplug=1, config_hdmi_boost=4, hdmi_group=1, hdmi_mode=1, disable_overscan=0)
##
#hdmi_safe=1
## hdmi_force_hotplug
## overrides the normal selection of composite if no HDMI is detected
##
## Value Description
## ————————————————————————-
## 0 Disabled (Default)
## 1 Use HDMI mode even if no HDMI monitor is detected
##
#hdmi_force_hotplug=1
## hdmi_drive
## chooses between HDMI and DVI modes
##
## Value Description
## ————————————————————————-
## 1 Normal DVI mode (No sound)
## 2 Normal HDMI mode (Sound will be sent if supported and enabled)
##
#hdmi_drive=2
## hdmi_group
## defines the HDMI type
##
## [rgh] I think values are 0 and 1 really, and the default 0 for CEA – at least with the latest firmware as of May 25th 2012.
##
## Value Description
## ————————————————————————-
## 1 CEA (Default)
## 2 DMT
##
#hdmi_group=1
## hdmi_mode
## defines screen resolution in CEA or DMT format
##
## H means 16:9 variant (of a normally 4:3 mode).
## 2x means pixel doubled (i.e. higher clock rate, with each pixel repeated twice)
## 4x means pixel quadrupled (i.e. higher clock rate, with each pixel repeated four times)
##
## Value hdmi_group=CEA hdmi_group=DMT
## ————————————————————————-
## 1 VGA 640×350 85Hz
## 2 480p 60Hz 640×400 85Hz
## 3 480p 60Hz H 720×400 85Hz
## 4 720p 60Hz 640×480 60Hz
## 5 1080i 60Hz 640×480 72Hz
## 6 480i 60Hz 640×480 75Hz
## 7 480i 60Hz H 640×480 85Hz
## 8 240p 60Hz 800×600 56Hz
## 9 240p 60Hz H 800×600 60Hz
## 10 480i 60Hz 4x 800×600 72Hz
## 11 480i 60Hz 4x H 800×600 75Hz
## 12 240p 60Hz 4x 800×600 85Hz
## 13 240p 60Hz 4x H 800×600 120Hz
## 14 480p 60Hz 2x 848×480 60Hz
## 15 480p 60Hz 2x H 1024×768 43Hz DO NOT USE
## 16 1080p 60Hz 1024×768 60Hz
## 17 576p 50Hz 1024×768 70Hz
## 18 576p 50Hz H 1024×768 75Hz
## 19 720p 50Hz 1024×768 85Hz
## 20 1080i 50Hz 1024×768 120Hz
## 21 576i 50Hz 1152×864 75Hz
## 22 576i 50Hz H 1280×768 reduced blanking
## 23 288p 50Hz 1280×768 60Hz
## 24 288p 50Hz H 1280×768 75Hz
## 25 576i 50Hz 4x 1280×768 85Hz
## 26 576i 50Hz 4x H 1280×768 120Hz reduced blanking
## 27 288p 50Hz 4x 1280×800 reduced blanking
## 28 288p 50Hz 4x H 1280×800 60Hz
## 29 576p 50Hz 2x 1280×800 75Hz
## 30 576p 50Hz 2x H 1280×800 85Hz
## 31 1080p 50Hz 1280×800 120Hz reduced blanking
## 32 1080p 24Hz 1280×960 60Hz
## 33 1080p 25Hz 1280×960 85Hz
## 34 1080p 30Hz 1280×960 120Hz reduced blanking
## 35 480p 60Hz 4x 1280×1024 60Hz
## 36 480p 60Hz 4x H 1280×1024 75Hz
## 37 576p 50Hz 4x 1280×1024 85Hz
## 38 576p 50Hz 4x H 1280×1024 120Hz reduced blanking
## 39 1080i 50Hz reduced blanking 1360×768 60Hz
## 40 1080i 100Hz 1360×768 120Hz reduced blanking
## 41 720p 100Hz 1400×1050 reduced blanking
## 42 576p 100Hz 1400×1050 60Hz
## 43 576p 100Hz H 1400×1050 75Hz
## 44 576i 100Hz 1400×1050 85Hz
## 45 576i 100Hz H 1400×1050 120Hz reduced blanking
## 46 1080i 120Hz 1440×900 reduced blanking
## 47 720p 120Hz 1440×900 60Hz
## 48 480p 120Hz 1440×900 75Hz
## 49 480p 120Hz H 1440×900 85Hz
## 50 480i 120Hz 1440×900 120Hz reduced blanking
## 51 480i 120Hz H 1600×1200 60Hz
## 52 576p 200Hz 1600×1200 65Hz
## 53 576p 200Hz H 1600×1200 70Hz
## 54 576i 200Hz 1600×1200 75Hz
## 55 576i 200Hz H 1600×1200 85Hz
## 56 480p 240Hz 1600×1200 120Hz reduced blanking
## 57 480p 240Hz H 1680×1050 reduced blanking
## 58 480i 240Hz 1680×1050 60Hz
## 59 480i 240Hz H 1680×1050 75Hz
## 60 1680×1050 85Hz
## 61 1680×1050 120Hz reduced blanking
## 62 1792×1344 60Hz
## 63 1792×1344 75Hz
## 64 1792×1344 120Hz reduced blanking
## 65 1856×1392 60Hz
## 66 1856×1392 75Hz
## 67 1856×1392 120Hz reduced blanking
## 68 1920×1200 reduced blanking
## 69 1920×1200 60Hz
## 70 1920×1200 75Hz
## 71 1920×1200 85Hz
## 72 1920×1200 120Hz reduced blanking
## 73 1920×1440 60Hz
## 74 1920×1440 75Hz
## 75 1920×1440 120Hz reduced blanking
## 76 2560×1600 reduced blanking
## 77 2560×1600 60Hz
## 78 2560×1600 75Hz
## 79 2560×1600 85Hz
## 80 2560×1600 120Hz reduced blanking
## 81 1366×768 60Hz
## 82 1080p 60Hz
## 83 1600×900 reduced blanking
## 84 2048×1152 reduced blanking
## 85 720p 60Hz
## 86 1366×768 reduced blanking
##
#hdmi_mode=1
## hdmi_force_hotplug
## Make RPi ignore hotplug signal from display and assume it is asserted.
##
#hdmi_force_hotplug=0
## config_hdmi_boost
## configure the signal strength of the HDMI interface.
##
## Value Description
## ————————————————————————-
## 0 (Default)
## 1
## 2
## 3
## 4 Try if you have interference issues with HDMI
## 5
## 6
## 7 Maximum
##
#config_hdmi_boost=0
################################################################################
## Overscan Video Settings
################################################################################
## overscan_left
## number of pixels to skip on left
##
#overscan_left=0
## overscan_right
## number of pixels to skip on right
##
#overscan_right=0
## overscan_top
## number of pixels to skip on top
##
#overscan_top=0
## overscan_bottom
## number of pixels to skip on bottom
##
#overscan_bottom=0
## disable_overscan
## set to 1 to disable overscan
##
## Value Description
## ————————————————————————-
## 0 Overscan Enabled (Default)
## 1 Overscan Disabled
##
#disable_overscan=1
################################################################################
## Framebuffer Video Settings
################################################################################
## framebuffer_width
## console framebuffer width in pixels. Default is display width minus overscan.
##
#framebuffer_width=0
## framebuffer_height
## console framebuffer height in pixels. Default is display height minus overscan.
##
#framebuffer_height=0
## framebuffer_depth
## console framebuffer depth in bits per pixel.
##
## Value Description
## ————————————————————————-
## 8 valid, but default RGB palette makes an unreadable screen
## 16 (Default)
## 24 looks better but has corruption issues as of 2012/06/15
## 32 has no corruption issues but needs framebuffer_ignore_alpha=1 and shows the wrong colors as of 2012/06/15
##
#framebuffer_height=16
## framebuffer_ignore_alpha
## set to 1 to disable alpha channel. Helps with 32bit.
##
## Value Description
## ————————————————————————-
## 0 Enable Alpha Channel (Default)
## 1 Disable Alpha Channel
##
#framebuffer_ignore_alpha=0
################################################################################
## Test Settings
################################################################################
## test_mode
## enable test sound/image during boot for manufacturing test.
##
## Value Description
## ————————————————————————-
## 0 Disable Test Mod (Default)
## 1 Enable Test Mode
##
#test_mode=0
################################################################################
## Cache Settings
################################################################################
## disable_l2cache
## disable arm access to GPU’s L2 cache. Needs corresponding L2 disabled kernel.
##
## Value Description
## ————————————————————————-
## 0 Enable L2 Cache (Default)
## 1 Disable L2 cache
##
#disable_l2cache=0
################################################################################
## Boot Option Settings
################################################################################
## disable_commandline_tags
## Stops start.elf from filling in ATAGS (memory from 0x100) before launching kernel
##
#disable_commandline_tags=0
## cmdline (string)
## Command line parameters. Can be used instead of cmdline.txt file
##
#cmdline=""
## kernel (string)
## Alternative name to use when loading kernel.
##
#kernel=""
## kernel_address
## address to load kernel.img file at
##
#kernel_address=0x00000000
## ramfsfile (string)
## ramfs file to load
##
#ramfsfile=""
## device_tree_address
## address to load device_tree at
##
#device_tree_address=0x00000000
## init_uart_baud
## initial uart baud rate. Default 115200
##
#init_uart_baud=115200
## init_uart_clock
## initial uart clock. Default 3000000
##
#init_uart_clock=3000000
## init_emmc_clock
## initial emmc clock. Default 50000000 (50mhz default. increasing this can speedup your SD-card)
##
#init_emmc_clock=50000000
## boot_delay
## Waits for given number of seconds in start.elf before loading kernel.img.
##
#boot_delay=0
################################################################################
## Overclocking Settings
################################################################################
## arm_freq
## frequency of ARM in MHz. Default 700.
##
#arm_freq=700
## gpu_freq
## Sets core_freq, h264_freq, isp_freq, v3d_freq together.
##
#gpu_freq=250
## core_freq
## frequency of GPU processor core in MHz. Default 250.
##
#core_freq=250
## h264_freq
## frequency of hardware video block in MHz. Default 250.
##
#h264_freq=250
## isp_freq
## frequency of image sensor pipeline block in MHz. Default 250.
##
#isp_freq=250
## v3d_freq
## frequency of 3D block in MHz. Default 250.
##
#v3d_freq=250
## sdram_freq
## frequency of SDRAM in MHz. Default 400.
##
#sdram_freq=400
################################################################################
## Voltage Settings
##
## WARNING: Setting any of the parameters which over volt your Raspberry Pi
## will set a permanent bit within the SOC and your warranty is void. So If
## you care about the warranty do not adjust voltage.
##
################################################################################
## over_voltage
## ARM/GPU core voltage adjust.
##
## Value Description
## ————————————————————————-
## -16 0.8 V
## -15 0.825 V
## -14 0.85 V
## -13 0.875 V
## -12 0.9 V
## -11 0.925 V
## -10 0.95 V
## -9 0.975 V
## -8 1.0 V
## -7 1.025 V
## -6 1.05 V
## -5 1.075 V
## -4 1.1 V
## -3 1.125 V
## -2 1.15 V
## -1 1.175 V
## 0 1.2 V (Default)
## 1 1.225 V
## 2 1.25 V
## 3 1.275 V
## 4 1.3 V
## 5 1.325 V
## 6 1.35 V
## 7 1.375 V
## 8 1.4 V
##
#over_voltage=0
## over_voltage_sdram
## Sets over_voltage_sdram_c, over_voltage_sdram_i, over_voltage_sdram_p together
##
## Value Description
## ————————————————————————-
## -16 0.8 V
## -15 0.825 V
## -14 0.85 V
## -13 0.875 V
## -12 0.9 V
## -11 0.925 V
## -10 0.95 V
## -9 0.975 V
## -8 1.0 V
## -7 1.025 V
## -6 1.05 V
## -5 1.075 V
## -4 1.1 V
## -3 1.125 V
## -2 1.15 V
## -1 1.175 V
## 0 1.2 V (Default)
## 1 1.225 V
## 2 1.25 V
## 3 1.275 V
## 4 1.3 V
## 5 1.325 V
## 6 1.35 V
## 7 1.375 V
## 8 1.4 V
##
#over_voltage_sdram=0
## over_voltage_sdram_c
## SDRAM controller voltage adjust.
##
## Value Description
## ————————————————————————-
## -16 0.8 V
## -15 0.825 V
## -14 0.85 V
## -13 0.875 V
## -12 0.9 V
## -11 0.925 V
## -10 0.95 V
## -9 0.975 V
## -8 1.0 V
## -7 1.025 V
## -6 1.05 V
## -5 1.075 V
## -4 1.1 V
## -3 1.125 V
## -2 1.15 V
## -1 1.175 V
## 0 1.2 V (Default)
## 1 1.225 V
## 2 1.25 V
## 3 1.275 V
## 4 1.3 V
## 5 1.325 V
## 6 1.35 V
## 7 1.375 V
## 8 1.4 V
##
#over_voltage_sdram_c=0
## over_voltage_sdram_i
## SDRAM I/O voltage adjust.
##
## Value Description
## ————————————————————————-
## -16 0.8 V
## -15 0.825 V
## -14 0.85 V
## -13 0.875 V
## -12 0.9 V
## -11 0.925 V
## -10 0.95 V
## -9 0.975 V
## -8 1.0 V
## -7 1.025 V
## -6 1.05 V
## -5 1.075 V
## -4 1.1 V
## -3 1.125 V
## -2 1.15 V
## -1 1.175 V
## 0 1.2 V (Default)
## 1 1.225 V
## 2 1.25 V
## 3 1.275 V
## 4 1.3 V
## 5 1.325 V
## 6 1.35 V
## 7 1.375 V
## 8 1.4 V
##
#over_voltage_sdram_i=0
## over_voltage_sdram_p
## SDRAM phy voltage adjust.
##
## Value Description
## ————————————————————————-
## -16 0.8 V
## -15 0.825 V
## -14 0.85 V
## -13 0.875 V
## -12 0.9 V
## -11 0.925 V
## -10 0.95 V
## -9 0.975 V
## -8 1.0 V
## -7 1.025 V
## -6 1.05 V
## -5 1.075 V
## -4 1.1 V
## -3 1.125 V
## -2 1.15 V
## -1 1.175 V
## 0 1.2 V (Default)
## 1 1.225 V
## 2 1.25 V
## 3 1.275 V
## 4 1.3 V
## 5 1.325 V
## 6 1.35 V
## 7 1.375 V
## 8 1.4 V
##
#over_voltage_sdram_p=0[/sourcecode]
Es gibt auch Möglichkeiten, noch weiter zu gehen und das Raspberry Pi auch overvolten. Hierbei wird der Strom erhöht, die der CPU/RAM/GPU erhält. Bitte beachtet jedoch, dass dieser Schritt wesentlich gefährlicher ist! Die Lebensdauer ist dadurch sehr eingeschränkt und auch die Gefahr, dass die Chips zerstört werden ist wesentlich höher!
Alleine durch das normale Übertakten ist eine ungefähre Leistungssteigerung von 20% möglich!
Testen der Leistung
Um die Rechenpower zu testen, kann mit mit einen einfachen Befehl 1500 PI Stellen berechnen lassen und auch achten, wie lange dieser Prozess dabei gedauert hat.
Um den Befehl verwenden können, benötigt ihr noch ein kleines Paket namens “bc”. Hier der Befehl:
time echo "scale=1500;4*a(1)" | bc -l
Let’s übertakt!
Nun gut, beginnen wir mit dem Übertakten.
Als erstes müssen wir hierfür die Datei /boot/config.txt entsprechend bearbeiten.
Den Editor öffnen wir mit:
sudo nano /boot/config.txt
Nun fügen wir folgende Zeile in die Datei ein:
(Es kann sein, dass bereits eine “arm_freq” Zeile in der Datei vorhanden ist, in diesem Fall reicht es, diese Zeile auszukommentieren. Hierfür einfach das “#” davor löschen.)
arm_freq=800
Nun den Editor verlassen (STRG+X) und mit “J”/”Y” bestätigen und abspeichern.
Um die Datei nun ohne Fehler abzuspeichern (selber getestet & funktioniert bei mir) bitte folgende Befehle ausführen:
sudo sync

sudo sh -c "echo 3 > /proc/sys/vm/drop_caches"
Nun das Raspberry Pi neustarten:
reboot
Um zu überprüfen, ob nun der CPU schneller taktet, folgenden Befehl verwenden:
cat /proc/cpuinfo
Hierbei bitte auf den Wert “BogoMIPS” achten.
Hier steht nicht eindeutig der eingegebene Wert (800) sondern eine Zahl, die etwas nahe dran ist.
Warum dies so ist, kann ihr leider auch nicht sagen.
In meinem Fall (übertaktet auf 875MHz) steht 869.99 BogoMIPS.
Höheres Übertakten
Laut senab.co.uk kann man die Werte bis zu 900MHz einstellen und sogar auch noch den Arbeitsspeicher von 400MHz (Standard) auf 500MHz übertakten. Hierbei bekommt man eine unglaubliche Leistungssteigerung von rund 25%!
Folgende Einstellen wurden dafür verwendet:
arm_freq=900

sdram_freq=500
Abschluss
Laut ARM ist es möglich den CPU bis auf zu 1GHz zu takten. Die genauen Prozessorinformationen findet man auf:
http://www.arm.com/products/processors/classic/arm11/arm1176.php
Wer die GPU noch übertakten möchte, kann dies auch mit folgendem Wert tun: gpu_freq=300
Die Standardtaktung der GPU ist 250 MHz.
Zur weiteren Performancesteigerung empfehle ich die 224/32MB RAM-Konfiguration (=32MB GPU RAM). Diese ist extrem einfach im Startmenü vom neuen Raspbian Betriebssystem möglich!
Fragen?
Bei Fragen bitte einfach einen Kommentar hinterlassen. Ich werde versuchen, alle zu beantworten! 🙂

Hi, ich bin total neu in der Linux Welt. Ich habe mal in mein boot Verzeichnis geguckt, dort befindet sich allerdings keine config.txt.
Leider kann ich auch keine neue Datei dort erstellen da ich nicht nötigen Berechtigungen habe.
Die OS Version die ich einsetzte ist diese http://downloads.raspberrypi.org/download.php?file=/images/debian/6/debian6-19-04-2012/debian6-19-04-2012.zip ich möchte nun meinen Raspberry auch übertakten.
Kannst du mir da einen Tipp geben wie ich das unter der OS Version hinbekomme?
Normalerweise sollte eine /boot vorhanden sein, ansonsten sollte das Betriebssystem nichtmal starten. Update lieber mal auf die aktuellste RaspberryPi-Debian Version – dort ist Overclocking sogar integriert. Ist einfacher & schneller ist das OS auch.
Hallo,
ich weiß die Frage geht nicht direkt auf das Thema ein, aber kennst du einen WLAN Adapter für den Rapsberry Pi der mit diesem funktioniert und am besten noch Open Source Treiber hat?
Grüße
Kevin
Welche WLAN Adapter unterstützt werden, findest du hier: http://elinux.org/RPi_VerifiedPeripherals#USB_WiFi_Adapters
hallo
ich habe das neue raspbian image installiern.
bin neu im linux.
habe “apt-get install synaptic” installiert.
wie bekomme ich adobe flash player installiert um youtube oder andere seiten mit flash zu gucken
danke im voraus
Soweit ich informiert bin, kann man kein Flash auf dem Raspberry Pi installieren, da Adobe keine passende Version dafür bereitstellt. Die einzige Möglichkeit wäre ein Media Center (XBMC) zu installieren. Da ist das abspielen – soweit ich Bescheid weiß – möglich.
YouTube Videos solltest du dennoch schauen können, da YouTube auch HTML5 unterstützt und kein Flash mehr benötigt.