piler installation guide
Want to update piler? Then you can check out my piler update guide.
This is my installation guide for mailpiler I have written and optimized in the last days. If there are any questions or ideas, please let me know in the comments below or via email.
ABOUT
PILER
piler is a open source email archiving solution with benefits and many features. The main usecase is for compliance and legal reasons of companies. Piler can encrypt and compress, deduplicate mails to reduce disk usage.
THIS GUIDE
This should guide you through the setup of mailpiler on a fresh Ubuntu installation. For your convenience I have added quite some sed commands for easily adjusting most configuration files as needed and also variables for easier replacing specific values throughout the guide.
However note, that the goal of this is not automating the installation and you might need to adjust the configuration to your own needs during or after steps provided. Consulting documentation and guides linked below is recommended.
This guide should take approx. 45 minutes.
ASSISTANCE
If assistance is required or having questions:
- The mailpiler developer provides an installation service and commercial support.
- There’s an unofficial Telegram group for mailpiler.
REQUIREMENTS
Installation documentation tested under following circumstances:
- You have general and advanced Linux experience.
- A clean Ubuntu 20.04.1 installation.
- A fresh and dedicated machine for mailpiler.
- Using user
rootthroughout the guide. (piler runs under userpiler) - Hardware requirements
- Memory: 1 GB should be sufficient for small setups (~300 MB in idle after setup)
- Disk: 10 GB for basic installation + your mail data
- Network requirements
- DNS record like
piler.domain.tldalready set accordingly. - Your mailserver must have access to Piler via SMTP (TCP/25) to send mails to archive via BCC.
- Your piler installation requires access to your mailserver with either SMTP (TCP/25) or IMAPS (TCP/993) for restoring mails.
- DNS record like
Important to note:
- Do ONLY use this on clean machines dedicated for mailpiler. Also for security-purposes you would like to have your email archiving solution separated.
- In this guide we do not enable clamd antivirus as we assume emails are already checked from the mailserver at the point where they arrived in the mailbox.
- While this guide is quite universal, it was tested against a mailcow-powered email server.
Installation of dependencies
Preparation
To make life easier, we set variables in the current shell: (replace with your own values!)
PILER_DOMAIN="piler.domain.tld"
MAILSERVER_DOMAIN="mail.domain.tld"
Install general dependencies
-
First, we install general dependencies needed later on.
apt install sysstat build-essential libwrap0-dev libpst-dev tnef libytnef0-dev unrtf catdoc libtre-dev tre-agrep poppler-utils libzip-dev unixodbc libpq5 software-properties-common libpoppler-dev openssl libssl-dev python3-mysqldb memcached pwgen telnet -
Remove packages pre-installed with Ubuntu 20.04 we do not need: (optional)
apt remove --yes snapd multipath-tools
apt autoremove --yes
Install database (MariaDB)
-
Prepare and install MariaDB database.
apt-key adv --fetch-keys 'https://mariadb.org/mariadb_release_signing_key.asc' add-apt-repository 'deb [arch=amd64] https://mirror.netcologne.de/mariadb/repo/10.4/ubuntu focal main' apt install mariadb-{server,client} libmariadb-client-lgpl-dev-compat -
Optimize database: (as per mailpiler FAQ)
cat > /etc/mysql/conf.d/mailpiler.conf <<EOF
innodb_buffer_pool_size=256M
innodb_flush_log_at_trx_commit=1
innodb_log_buffer_size=64M
innodb_log_file_size=16M
query_cache_size=0
query_cache_type=0
query_cache_limit=2M
EOF

systemctl restart mariadb
Install PHP
Install PHP and required modules for mailpiler GUI from ondrej’s awesome PHP repo.
add-apt-repository --yes ppa:ondrej/php
apt install php7.4-{fpm,common,ldap,mysql,cli,opcache,phpdbg,gd,memcache,json,readline,zip}
Install webserver
Install nginx webserver from ondrej’s awesome nginx repo.
add-apt-repository --yes ppa:ondrej/nginx-mainline
apt install nginx
systemctl enable nginx
Install sphinxsearch
Install sphinxsearch, needed for indexing by mailpiler.
Note: Check version and download link on sphinxsearch download site and adjust version in download link below, if necessary.
Download and install binaries.
mkdir -p /root/mailpiler/sphinxsearch/
cd /root/mailpiler/sphinxsearch/
wget http://sphinxsearch.com/files/sphinx-3.3.1-b72d67b-linux-amd64.tar.gz
tar xfz sphinx-*-linux-amd64.tar.gz
cp -v sphinx-*/bin/* /usr/local/bin/
rm /etc/cron.d/sphinxsearch
Install xlhtml
Prepare dependency for mailpiler.
Note: Check version and download link on mailpiler installation guide and adjust version in download link below, if necessary.
Download, configure, compile and install:
mkdir -p /root/mailpiler/xlhtml/
cd /root/mailpiler/xlhtml/
wget https://bitbucket.org/jsuto/piler/downloads/xlhtml-0.5.1-sj-mod.tar.gz
tar xzf xlhtml-*-sj-mod.tar.gz
cd xlhtml-*-sj-mod/
./configure
make
make install
ldconfig
Installation of mailpiler
Install mailpiler
Prepare and install mailpiler itself.
-
Create dedicated user and set permission accordingly.
groupadd piler useradd -g piler -m -s /bin/bash -d /var/piler piler usermod -L piler chmod 755 /var/piler -
Then: Download, configure, compile and install.
Note: Check version and download link on mailpiler download and adjust version in download link below, if necessary.
mkdir -p /root/mailpiler/piler/ cd /root/mailpiler/piler/ wget https://bitbucket.org/jsuto/piler/downloads/piler-1.3.9.tar.gz tar xzf piler-*.tar.gz cd piler-*/ ./configure --localstatedir=/var --with-database=mysql --enable-memcached make make install ldconfigNote: The install guide was only tested with 1.3.9. Newer versions – see the website – can work, but were not tested. Check the website to pick the latest version.
mailpiler post-install
After mailpiler was installed, we prepare everything.
-
Generate password and prepare database:
PILER_MYSQL_USER_PW="$(pwgen -cnsB 32 1)"
echo; echo "---"; echo "MYSQL PILER PASSWORD: $PILER_MYSQL_USER_PW"; echo "---"; echo

cp util/postinstall.sh util/postinstall.sh.bak
sed -i "s/   SMARTHOST=.*/   SMARTHOST="\"$MAILSERVER_DOMAIN\""/" util/postinstall.sh
sed -i 's/   WWWGROUP=.*/   WWWGROUP="www-data"/' util/postinstall.sh
You will need this password in just a second during post-install.
-
Start post-installation script of mailpiler:
make postinstallThe default values prompted from the post-installation script should be fine for this guide as we adjusted them with
sedjust right above. But still verify them before proceeding!
At this point you have following key questions to answer:- The webserver groupname is
www-data. - The
mysql password for pileris the generated password above. (Copy-pasted values will not be visible.) - At
mysql root passwordyou can simply type in anything, as socket will be used. - Value
smtp relaywill bemail.domain.tld(same as$MAILSERVER_DOMAIN)
Example output:This is the postinstall utility for piler It should be run only at the first install. DO NOT run on an existing piler installation! Continue? [Y/N] [N] y Please enter the webserver groupname [www-data] Please enter mysql hostname [localhost] Please enter mysql socket path [/var/run/mysqld/mysqld.sock] Please enter mysql database [piler] Please enter mysql user name [piler] Please enter mysql password for piler [] Please enter mysql root password. If its a recent version of mysql and uses socket authentication, then any string would do here [] mysql connection successful Please enter smtp relay [mail.domain.tld] Please enter smtp relay port [25] no crontab for piler INSTALLATION SUMMARY: [...] Correct? [Y/N] [N] Y Continue and modify system? [Y/N] [N] Y - The webserver groupname is
-
Adjust piler and sphinx configuration:
cp /usr/local/etc/piler/piler.conf /usr/local/etc/piler/piler.conf.bak cp /usr/local/etc/piler/sphinx.conf /usr/local/etc/piler/sphinx.conf.bak sed -i "s/hostid=.*/hostid=$PILER_DOMAIN/" /usr/local/etc/piler/piler.conf sed -i "s/update_counters_to_memcached=.*/update_counters_to_memcached=1/" /usr/local/etc/piler/piler.conf sed -i "s/spam_header_line=.*/spam_header_line=X-Spam-Flag: YES/" /usr/local/etc/piler/piler.conf # rspamd in mailcow setup. sed -i "s/define('SPHINX_VERSION', .*/define('SPHINX_VERSION', 331);/" /usr/local/etc/piler/sphinx.conf sed -i "s/define('SPHINX_STRICT_SCHEMA', 0);/define('SPHINX_STRICT_SCHEMA', 1);/" /usr/local/etc/piler/sphinx.conf # required for Sphinx 3.3.1 -
Start mailpiler and searchd and enable autostart:
/etc/init.d/rc.piler start
/etc/init.d/rc.searchd start

update-rc.d rc.piler defaults
update-rc.d rc.searchd defaults
Set up mailpiler WebUI
-
Generate self-signed certificate (or use a different existing one):
mkdir -p /etc/nginx/ssl openssl req -x509 -nodes -days 3650 -newkey rsa:4096 -keyout /etc/nginx/ssl/piler.key -out /etc/nginx/ssl/piler.crt -subj "/CN=$PILER_DOMAIN" -addext "subjectAltName=DNS:$PILER_DOMAIN" -
Configure webserver and PHP:
cp contrib/webserver/piler-nginx.conf /etc/nginx/sites-enabled/piler sed -i "s|PILER_HOST|$PILER_DOMAIN|g" /etc/nginx/sites-enabled/piler sed -i "s|/var/run/php/php7.2-fpm.sock|/var/run/php/php7.4-fpm.sock|g" /etc/nginx/sites-enabled/piler -
Let’s make the piler vhost more secure:
sed -i "/server_name.*/a \\ listen 443 ssl http2;\n\n\ ssl_certificate /etc/nginx/ssl/piler.crt;\n\ ssl_certificate_key /etc/nginx/ssl/piler.key;\n\n\ ssl_session_timeout 1d;\n\ ssl_session_cache shared:SSL:15m;\n\ ssl_session_tickets off;\n\n\ # modern configuration of Mozilla SSL configurator. Tweak to your needs.\n\ ssl_protocols TLSv1.2 TLSv1.3;\n\ ssl_ciphers ECDHE-ECDSA-AES128-GCM-SHA256:ECDHE-RSA-AES128-GCM-SHA256:ECDHE-ECDSA-AES256-GCM-SHA384:ECDHE-RSA-AES256-GCM-SHA384:ECDHE-ECDSA-CHACHA20-POLY1305:ECDHE-RSA-CHACHA20-POLY1305:DHE-RSA-AES128-GCM-SHA256:DHE-RSA-AES256-GCM-SHA384;\n\ ssl_prefer_server_ciphers off;\n\n\ add_header X-Frame-Options SAMEORIGIN;\n\ add_header X-Content-Type-Options nosniff;" /etc/nginx/sites-enabled/piler sed -i "/^server {.*/i\ \# HTTP to HTTPS redirect.\n\ server {\n\ listen 80;\n\ server_name $PILER_DOMAIN;\n\ return 301 https://\$host\$request_uri;\n\ }" /etc/nginx/sites-enabled/piler -
Now we test and reload the nginx configuration:
nginx -t && systemctl reload nginx
Configure mailpiler webui
Now we adjust configuration file the mailpiler webui.
Furthermore we do enable authentication over IMAP. Meaning: All users with a mailbox can directly login into mailpiler, no manual intervention nor manually creating accounts is required. Each user can only see mails where the email address was either recipient or sender.
cp /usr/local/etc/piler/config-site.php /usr/local/etc/piler/config-site.bak.php

sed -i "s|\$config\['SITE_URL'\] = .*|\$config\['SITE_URL'\] = 'https://$PILER_DOMAIN/';|" /usr/local/etc/piler/config-site.php

cat >> /usr/local/etc/piler/config-site.php <<EOF

// CUSTOM
\$config['PROVIDED_BY'] = '$MAILSERVER_DOMAIN';
\$config['SUPPORT_LINK'] = 'https://$MAILSERVER_DOMAIN';
\$config['COMPATIBILITY'] = '';

// fancy features.
\$config['ENABLE_INSTANT_SEARCH'] = 1;
\$config['ENABLE_TABLE_RESIZE'] = 1;

\$config['ENABLE_DELETE'] = 1;
\$config['ENABLE_ON_THE_FLY_VERIFICATION'] = 1;

// general settings.
\$config['TIMEZONE'] = 'UTC';

// authentication
// Enable authentication against an imap server
\$config['ENABLE_IMAP_AUTH'] = 1;
\$config['RESTORE_OVER_IMAP'] = 1;
\$config['IMAP_RESTORE_FOLDER_INBOX'] = 'INBOX';
\$config['IMAP_RESTORE_FOLDER_SENT'] = 'Sent';
\$config['IMAP_HOST'] = '$MAILSERVER_DOMAIN';
\$config['IMAP_PORT'] =  993;
\$config['IMAP_SSL'] = true;

// special settings.
\$config['MEMCACHED_ENABLED'] = 1;
\$config['SPHINX_STRICT_SCHEMA'] = 1; // required for Sphinx 3.3.1, see https://bitbucket.org/jsuto/piler/issues/1085/sphinx-331.
EOF
Finish line
-
Clean up:
apt autoremove --yes apt clean -
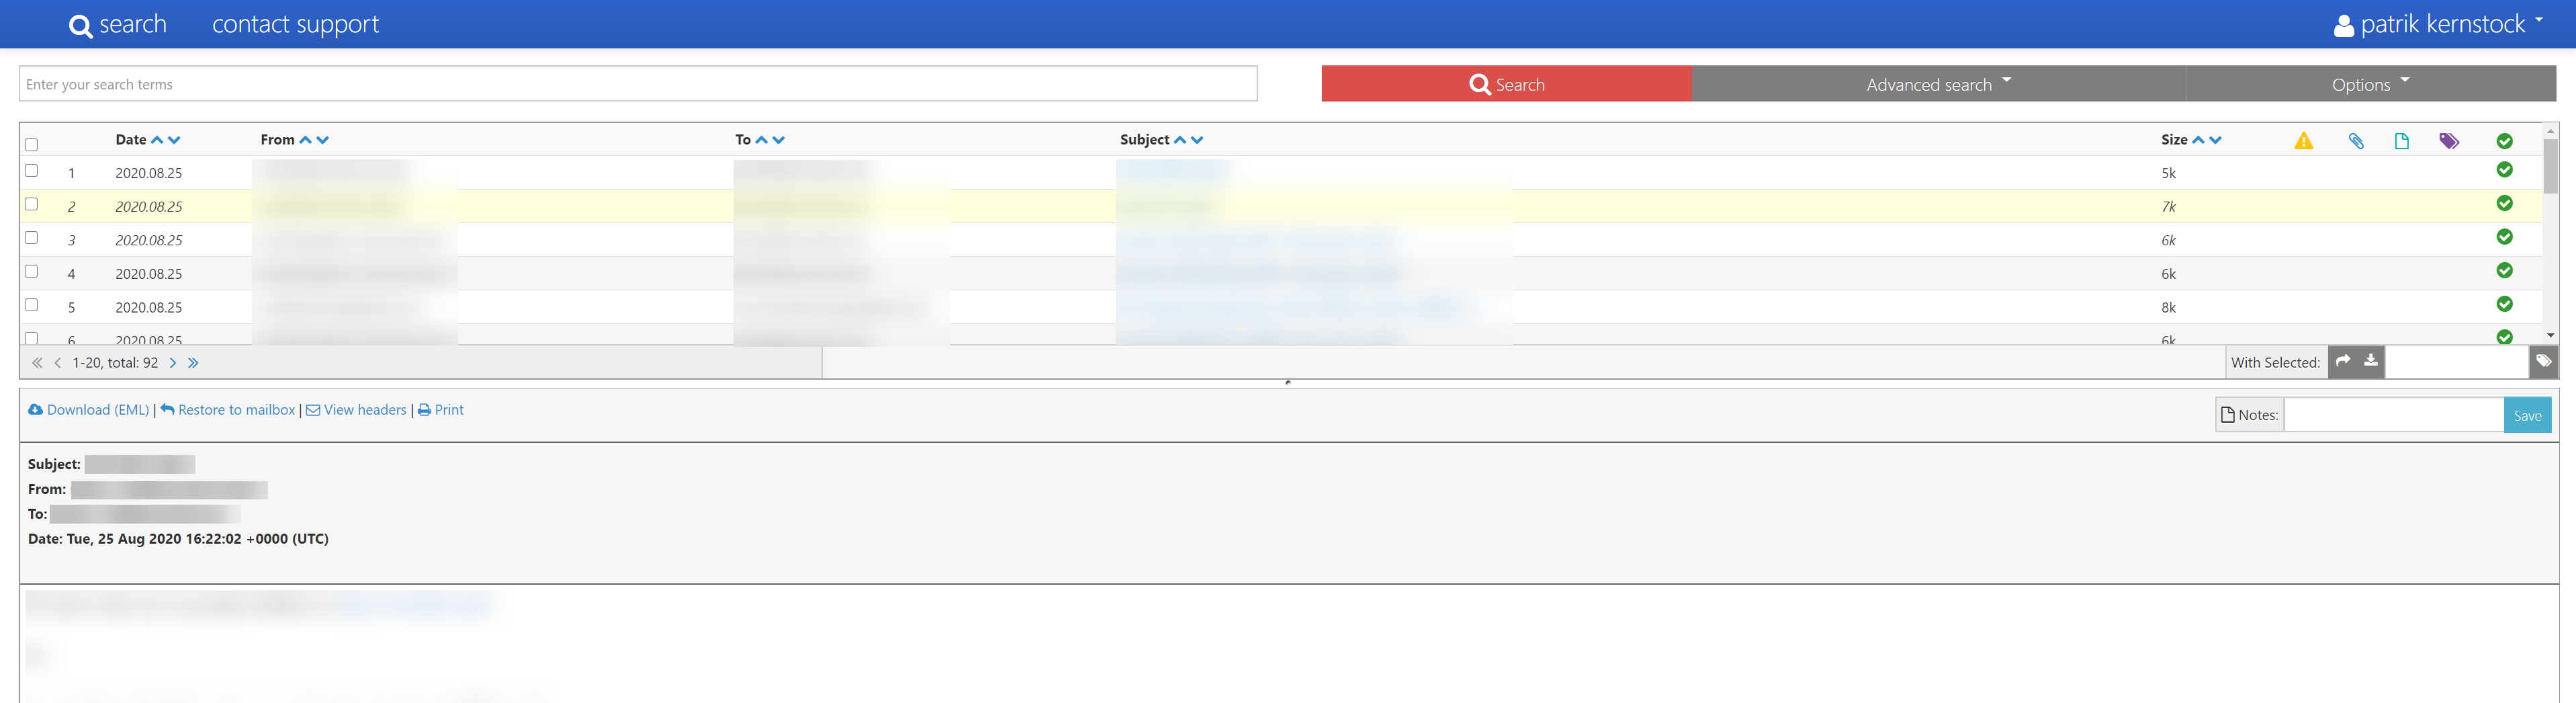
Login to WebUI at
https://$PILER_DOMAIN:Username: admin@local Password: pilerrocks
And we’re done with mailpiler!
Next steps
- Adjust mailpiler configuration to your personal needs.
- Secure your mailpiler instance (specially SMTP TCP/25) against unintended access. All mails retrieved at SMTP TCP/25 will be imported by mailpiler. Could be problematic with public-reachable instances.
- Configure mailserver to BCC mails from your mailserver to Pilers SMTP.
- Import mails to mailpiler, see: mailpiler.org/wiki/current:importing-emails
INTEGRATION
Special tasks
These are special tasks you might or might not need at some point.
Retrieve aliases and set realname from mailcow
As IMAP authentication is used here, mailpiler is not aware to which alias addresses the user has access to nor knows the real name of the user, which can be set in mailcow too.
As mailpiler provides a functionality to hook into the authentication process, we are able to query the relevant details from our mailcow instance via the API and set this during the authentication procedure for the duration of the session.
I have built an implementation for this scenario, see the instructions in the official mailcow docs here.
Reverse proxy
It might be useful to make mailpiler accessible under a specific subdomain like https://archive.mail.domain.tld. For example useful when you have mailpiler running internally but would like to have the WebUI accessible from outside.
This can also be used for mailcow – the path could be, for example, /opt/mailcow-dockerized/data/conf/nginx/z_mailpiler.conf.
# adjust these both variables:
PILER_DOMAIN_INTERNAL="piler.domain.tld"
PILER_DOMAIN_OUTSIDE="mailarchive.domain.tld"

cat > nginx_mailpiler.conf <<EOF
# HTTP to HTTPS redirect.
server {
    listen 80;
    server_name $PILER_DOMAIN_OUTSIDE;
    server_tokens off;
    return 301 https://\$host\$request_uri;
}
# Main server block
server {
    listen 443 http2;
    server_name $PILER_DOMAIN_OUTSIDE;
    server_tokens off;

    access_log off;
    error_log off;

    ssl_certificate /etc/ssl/mail/cert.pem;
    ssl_certificate_key /etc/ssl/mail/key.pem;

    ssl_session_timeout 1d;
    #ssl_session_cache shared:SSL:15m; # dont use for mailcow
    ssl_session_tickets off;

    # modern configuration of Mozilla SSL configurator. Tweak to your needs.
    ssl_protocols TLSv1.2 TLSv1.3;
    ssl_ciphers ECDHE-ECDSA-AES128-GCM-SHA256:ECDHE-RSA-AES128-GCM-SHA256:ECDHE-ECDSA-AES256-GCM-SHA384:ECDHE-RSA-AES256-GCM-SHA384:ECDHE-ECDSA-CHACHA20-POLY1305:ECDHE-RSA-CHACHA20-POLY1305:DHE-RSA-AES128-GCM-SHA256:DHE-RSA-AES256-GCM-SHA384;
    ssl_prefer_server_ciphers off;

    add_header X-Frame-Options SAMEORIGIN;
    add_header X-Content-Type-Options nosniff;
    add_header Strict-Transport-Security "max-age=15768000;";
    add_header X-XSS-Protection "1; mode=block";
    add_header X-Robots-Tag none;
    add_header X-Download-Options noopen;
    add_header X-Permitted-Cross-Domain-Policies none;
    add_header Referrer-Policy strict-origin;

    location / {
        proxy_set_header X-Real-IP         \$remote_addr;
        proxy_set_header X-Forwarded-For   \$proxy_add_x_forwarded_for;
        proxy_set_header X-Forwarded-Proto \$scheme;
        proxy_set_header Connection        "";
        proxy_read_timeout                 900;
        proxy_buffers                      32 4k;
        proxy_pass https://$PILER_DOMAIN_INTERNAL;
    }
}
EOF
In case of mailcow, to add ADDITIONAL_SAN automatically, you can use:
cd /opt/mailcow-dockerized/
cp mailcow.conf mailcow.conf.bak
# let's add the $PILER_DOMAIN_OUTSIDE at the end of ADDITIONAL_SAN
# so that mailcow manages certs for mailpiler this way.
sed -i "/^ADDITIONAL_SAN=.*/ s/$/,$PILER_DOMAIN_OUTSIDE/" mailcow.conf
Restart services
/etc/init.d/rc.searchd stop
/etc/init.d/rc.piler stop

/etc/init.d/rc.piler start
/etc/init.d/rc.searchd start
Checking logs
Log can be found at /var/log/mail.log.
tail -f /var/log/mail.logPiler-Folder Support
If folder support is required (see docs, should be enabled at day-one). It’s not about IMAP folders.
sed -i '/^source base$/,/}/ s/}/   sql_attr_uint = folder\n}/' /usr/local/etc/piler/sphinx.conf
echo "\$config['ENABLE_FOLDER_RESTRICTIONS'] = 1;" >> /usr/local/etc/piler/config-site.php
sed -i "s/enable_folders=0/enable_folders=1/" /usr/local/etc/piler/piler.conf
And then restart piler and searchd.
Reset and reindex sphinx
searchd should not run while manually re-indexing!
/etc/init.d/rc.searchd stop
rm -rf /var/piler/sphinx/*
sudo -u piler indexer --all --config /usr/local/etc/piler/sphinx.conf
/etc/init.d/rc.searchd start
Reset everything
/etc/init.d/rc.searchd stop
/etc/init.d/rc.piler stop

rm -rf /var/piler/store/00/*

mysql --defaults-file=/etc/mysql/debian.cnf -e "DROP DATABASE piler;";
mysql --defaults-file=/etc/mysql/debian.cnf -e "CREATE DATABASE piler CHARACTER SET utf8;";
mysql --defaults-file=/etc/mysql/debian.cnf piler < /root/mailpiler/piler/piler-1.3.9/util/db-mysql.sql

rm -rf /var/piler/sphinx/*
sudo -u piler indexer --all --config /usr/local/etc/piler/sphinx.conf

/etc/init.d/rc.piler start
/etc/init.d/rc.searchd start
Sources
- mailpiler.org/wiki/current:installation
- sphinxsearch.com/downloads/current/
- mailpiler.org/wiki/current:how-piler-works
- mailpiler.org/wiki/current:post-install
- mailpiler.org/wiki/current:importing-emails
- bitbucket.org/jsuto/piler/src/master/etc/example.conf
- mailpiler.org/wiki/download
- mailpiler.org/wiki/faq
- mailpiler.org/pdf/piler-1.1.0.pdf

Would it be possible that you still update this tutorial?
That would help me and many others…
I always get this error when I start the post-installation script of mailpiler:
Maybe anyone can help?
Followed this guide with a fresh Ubuntu 20.04.02 install, sphinx 3.4.1. Made sure to include SPHINX_STRICT_SCHEMA = 1 where needed, but i’m not seeing any emails in the GUI as auditor. Running the manual reindex lists all zeroes in the output. Admin gui shows a few thousand emails are stored. What do I check next?
I had you same problem, solved replacing 3.4.1 with older 3.3.1
Hi, thanks for your guide, as I exposed here https://bitbucket.org/jsuto/piler/issues/1191/cannot-update-piler-from-139-build-998-to I’m not able to update from your guide to a new version of MailPiler. Can you share how do you update your installation . Thanks
Sorry I just find out your linked guide piler update guide
piler service starts but not able to telent on port 25, also posfix and piler both listen on port 25 i had stopped posfix for now. Kindly suggest how to telnet port 25 as no mails are coming on piler. Do we need any kind of MX records ?
Only one service can listen on one IP-Port combination. Emails needs to be forwarded from your main mailserver to Piler MTA – e.g. via BCC maps.
Hello!
i have done the installation strict with your guide 🙂
Thank you!
But one Problem.
i havent installed sphinxsearch with apt (-> no /etc/cron.d/sphinxsearch to enter “start = NO”) – i only have “installed the binaries” like in your guide.
now i have the problem, that i can see only the mails from today.
what can i do?
Piler only archives new emails it receives on the MTA at port tcp/25. Existing emails must be imported manually – see: http://mailpiler.org/wiki/current:importing-emails
Thanks for your guide. I got mailpiler up and running – i just have no idea, how i can sent an email to the mail daemon on port 25?
I guess i miss something very obviouse.
This depends on the mailserver you’re using: With mailcow you can configure BCC maps to forward all incoming/outgoing emails to piler so that it can archive the emails.
Thank you for the guide. I have encountered a problem though and wondered if you were experiencing the same thing. I followed your guide (except for the mailcow parts) on a fresh Ubuntu 20.04.1 LTS. I imported a single day’s worth of emails in order to test the web GUI. It all seemed to be working fine until I logged in as auditor the very next day. It showed no emails at all. There is an FAQ at mailpiler.org about that and is says to “Edit /etc/default/sphinxsearch, and set START=“no””. I have done that and re-indexed the emails per the… Read more »
I think I may have sorted this. I started afresh and did 2 things differently this time: I noticed when starting searchd that it had warnings about missing main indexes so I followed the “Reset and reindex sphinx” steps I imported the day’s worth of emails as the piler user, I think the first time around I was root. I’m not sure which of those fixed it. Once again, thank you very much for the guide. I did try following the notes on mailpiler.org but really struggled to make sense of it so without your guide I would have been… Read more »
Hi, at first try, I had the same problem. That’s why I wrote here, I changed to SPHINX_STRICT_SCHEMA = 1 in the config prior to make postinstall. That fixed the warnings for me and since everything runs well.
Best
Astan
Perfect HowTo. Greetings from Austria.
Hi Patrik, first of all, thank you for your excellent Piler Installation Guide. I started with a clean Ubuntu 20.04 and followed your guide step by step. I had some minor problems, maybe you can confirm or direct me what I did wrong. First, on my installation there was no /etc/cron.d/sphinxsearch. Second, I had to ‘ldconfig’ also after the ‘make install’ of piler. Next, without changing first SPHINX_STRICT_SCHEMA = 1 in the config files ‘make postinstall’ threw errors/warings. There is also a SPHINX_STRICT_SCHEMA in /var/piler/www/config.php – I changed this too. Did you miss it or hasn’t it any impact? Last,… Read more »
ahh, have just seen in the Piler wiki, config-site.php overwrites settings in config.php. One point sorted out …
Thanks for your feedback! I’ve added a `ldconfig` to the mailpiler installation, and also `systemctl enable nginx` to make sure nginx is being started by systemd when the system boots up.
The `/etc/cron.d/sphinxsearch` could exist when it was installed via apt at some point in the past, so I just make sure that the file does not exist as it could cause problems. But as others were confused about that as well, I’m thinking about to remove it or at least add a note.